Lemosho (7-8 Days)
Excellent for first-time climbers seeking scenery plus acclimatization quality.
Ask about this routeKilimanjaro Expeditions
Compare routes, lengths, and difficulty. We recommend 7–8+ day schedules for safer acclimatization.
Route Comparison
Excellent for first-time climbers seeking scenery plus acclimatization quality.
Ask about this route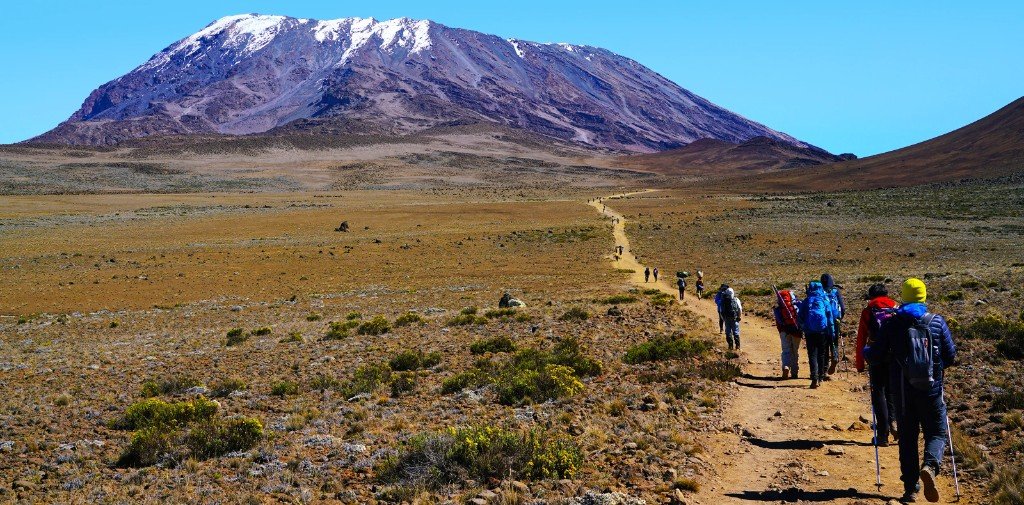
Classic "Whiskey Route" with dynamic landscapes and active trekking rhythm.
Ask about this route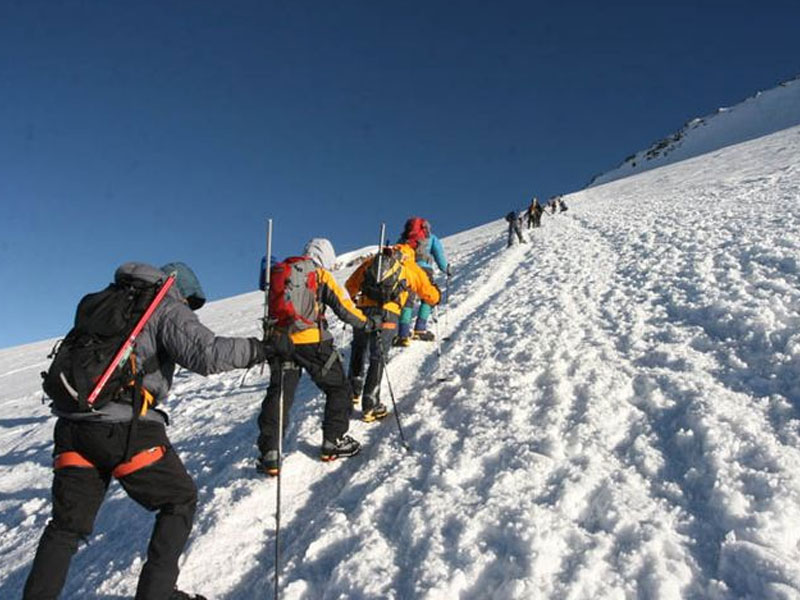
Longest route offering gradual acclimatization and low crowd density.
Ask about this route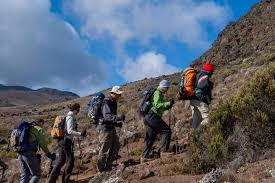
Northern approach with quieter paths and relatively drier microclimate in some periods.
Ask about this route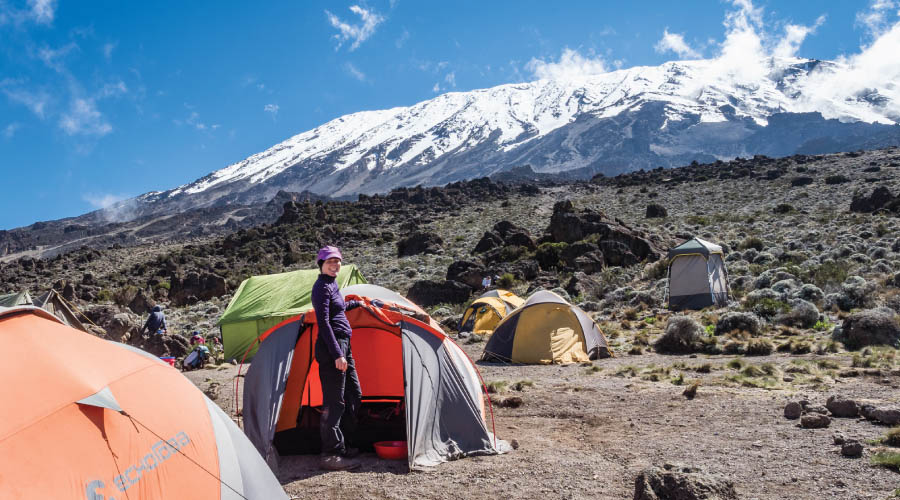
Only route with hut stays, often chosen by guests wanting non-camping nights.
Ask about this route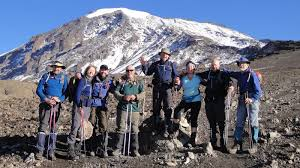
Steeper and more demanding ascent suitable for experienced and fit trekkers.
Ask about this routeBudget planning
Packages bundle TNPA fees, VAT, transfers, crew, food, and gear as listed. Excludes flights, visa, personal insurance gaps, tips, rentals.
| Route | Typical days | Indicative USD pp (group) | Price drivers |
|---|---|---|---|
| Lemosho | 8 (recommended) | $2,900 – $4,600 | Extra acclimatization night; private departure; single supplement |
| Lemosho | 7 | $2,550 – $3,900 | Fewer fee-nights than 8-day; faster ascent profile |
| Machame | 7 (recommended) | $2,350 – $3,850 | Popular route; Barafu crowding in peak weeks |
| Machame | 6 | $2,150 – $3,400 | Skips Karanga sleep—harder recovery before summit |
| Northern Circuit | 9 | $3,400 – $5,200 | Most park nights & longest staff rotation |
| Northern Circuit | 8 | $3,050 – $4,700 | Condensed northern traverse; still premium fee load |
| Rongai | 7 | $2,550 – $4,000 | Northern gate logistics; sometimes smaller groups |
| Rongai | 6 | $2,300 – $3,600 | Compressed middle stages |
| Marangu (huts) | 6 (recommended) | $2,200 – $3,500 | Hut tariff bands differ from camping; Horombo acclimat day |
| Marangu (huts) | 5 | $2,000 – $3,100 | Shortest common hut itinerary—higher workload / AMS risk |
| Umbwe | 7 | $2,450 – $3,900 | Buffer night common before southern-circuit merge |
| Umbwe | 6 | $2,200 – $3,600 | Steep early days; guide experience critical |
Disclaimer: Tanzania National Parks Authority (TNPA) revises conservation, camping, rescue, and gate fees; published figures here are planning bands only. Your operator’s written quotation is the binding commercial document for your travel dates.
Leg tables: approximate km from last camp, sleep altitude, vertical change, and main risks (AMS/HAPE/HACE, terrain). Figures vary by operator (~±10–20%).
Orientation
Overhead layout follows common TNPA / operator maps: Mawenzi east of Kibo; western gates (Lemosho), southern (Machame, Umbwe), south-eastern huts (Marangu), north-eastern (Rongai); Northern Circuit arcs the north flank. Not to scale.
Day-by-day
Common day counts: Lemosho 7–8, Machame 6–7, Northern 8–9, Rongai 6–7, Marangu 5–6, Umbwe 6–7. Summit night starts before midnight from high camp.
Horizontal distances are measured from the previous sleep point (or gate). Altitudes follow commonly published camp means; your operator’s GPS waypoints may differ slightly.
Seven-day Lemosho
| Day | Segment (from → to) | Dist. | Sleep alt. | Net vert. | Risks & notes |
|---|---|---|---|---|---|
| 1 | Londorossi Gate (~2,250 m) → Mti Mkubwa | 5–7 km | ~2,780 m | +530–630 m | Wet forest roots; lightning in storms; start AMS diary |
| 2 | Mti Mkubwa → Shira 1 | 7–9 km | ~3,505 m | +720 m | Wind exposure; dehydration; early AMS possible |
| 3 | Shira 1 → Shira 2 | 9–11 km | ~3,880 m | +375 m | High UV; pace discipline; headache monitoring |
| 4 | Shira 2 → Lava Tower (~4,630 m) → Barranco | 14–17 km | ~3,960 m | climb-high / sleep-low | Key AMS probe day; steep knee descent; hail/wind |
| 5 | Barranco Wall → Karanga | ~5 km | ~4,035 m | +75–100 m | Scramble exposure (not technical); traffic jams; fall risk if rushing |
| 6 | Karanga → Barafu | ~4 km | ~4,673 m | +640 m | Insomnia common; HACE/HAPE watch; brief summit orientation |
| 7 | Barafu → Uhuru → Mweka camp | ~5 km up + 11–14 km down leg | ~3,100 m | summit +1,220 m then −1,570 m (first descent leg) | Coldest wind-chill; exhaustion; HAPE/HACE peak window; long descent pounding |
Eight-day Lemosho (extra plateau night)
| Day | Segment | Dist. | Sleep alt. | Net vert. | Risks & notes |
|---|---|---|---|---|---|
| 1–3 | Same as 7-day through Shira 2 | — | — | — | See rows above for hazards by stage |
| 4 | Shira 2 → Moir Hut | 6–8 km | ~4,200 m | +320–350 m | First sustained >4,000 m sleep; AMS vigilance overnight |
| 5 | Moir → Lava Tower → Barranco | 12–15 km | ~3,960 m | climb-high / sleep-low | Long day fatigue; weather windows narrow |
| 6 | Barranco Wall → Karanga | ~5 km | ~4,035 m | +75–100 m | Wall exposure; overtaking etiquette reduces rockfall risk |
| 7 | Karanga → Barafu | ~4 km | ~4,673 m | +640 m | Same high-camp medical profile as 7-day variant |
| 8 | Barafu → Uhuru → Mweka / Millennium | ~5 km up + long descent | ~3,100 m | extreme swing | Summit night identical risk envelope to shorter Lemosho |
Machame shares the southern high-circuit camps (Barranco–Karanga–Barafu) with Lemosho after the Shira sector; crowding peaks near the wall and Barafu in busy months.
Seven-day Machame
| Day | Segment | Dist. | Sleep alt. | Net vert. | Risks & notes |
|---|---|---|---|---|---|
| 1 | Machame Gate (~1,800 m) → Machame Camp | 10–11 km | ~3,010 m | +1,200 m | Big first-day gain; mud; pace control essential |
| 2 | Machame → Shira Camp | 5–7 km | ~3,840 m | +830 m | Heather/moorland wind; AMS symptoms may appear |
| 3 | Shira → Lava Tower (~4,630 m) → Barranco | 10–12 km | ~3,960 m | climb-high / sleep-low | Same AMS probe profile as Lemosho day 4 leg |
| 4 | Barranco Wall → Karanga | ~5 km | ~4,035 m | +75–100 m | Wall queues; rockfall from careless climbers above |
| 5 | Karanga → Barafu | ~4 km | ~4,673 m | +640 m | Barafu sleep deprivation; final medical screening |
| 6 | Barafu → Uhuru → Mweka | ~5 km up + long descent | ~3,100 m | extreme swing | Summit night identical physiological stress to Lemosho |
| 7 | Mweka → Mweka Gate | 9–10 km | exit ~1,640 m | −1,460 m | Wet slippery forest; knee/quad fatigue from prior day |
Six-day Machame (no Karanga night)
| Day | Segment | Dist. | Sleep alt. | Net vert. | Risks & notes |
|---|---|---|---|---|---|
| 1–3 | Gate → Machame → Shira → Barranco | — | ~3,960 m | — | Same as 7-day through acclimatization day |
| 4 | Barranco Wall → Barafu (single push) | ~9 km | ~4,673 m | +710 m | Longer high-altitude day before summit; higher fatigue/AMS odds |
| 5 | Barafu → Uhuru → Mweka | ~5 km up + descent | ~3,100 m | extreme swing | Less recovery than 7-day before summit push |
| 6 | Mweka → gate | 9–10 km | exit | — | Slip/trip risk on tired legs |
Eight-day northern programs typically combine two northern traverse stages (for example Buffalo and Third Cave) or trim a plateau night; summit night still starts from School Hut or a nearby high camp on most schedules.
Quietest standard commercial line; long western arc before joining the north summit track. Fewer crowds until School Hut / crater rim merge.
| Day | Segment | Dist. | Sleep alt. | Net vert. | Risks & notes |
|---|---|---|---|---|---|
| 1 | Londorossi Gate → Mti Mkubwa | 5–7 km | ~2,780 m | +530–630 m | Same forest-stage risks as Lemosho |
| 2 | Mti Mkubwa → Shira 1 | 7–9 km | ~3,505 m | +720 m | Wind; AMS watch |
| 3 | Shira 1 → Shira 2 | 9–11 km | ~3,880 m | +375 m | UV; pacing |
| 4 | Shira 2 → Moir Hut | 6–8 km | ~4,200 m | +320 m | Sustained high plateau; insomnia |
| 5 | Moir → Buffalo / Pofu (north flank) | 11–13 km | ~3,950 m | sleep lower than Moir | Remote camp—longer helicopter access time if needed; weather exposure |
| 6 | Buffalo → Third Cave | 7–9 km | ~4,300 m | +350 m | Gradual gain; dehydration on dry north side |
| 7 | Third Cave → School Hut | 5–7 km | ~4,715 m | +415 m | Very high sleep; HAPE/HACE vigilance; cold wind off crater |
| 8 | School Hut → Uhuru (via Gilman’s / crater) → Mweka | ~6 km ascent + long descent | ~3,100 m | extreme swing | Night ascent on scree/ash; altitude emergency peak; long knee descent |
| 9 | Mweka → Mweka Gate | 9–10 km | exit | — | Forest slip risk |
Six-day Rongai schedules vary most between companies; confirm exact sleep locations on your written itinerary.
Northeast approach; joins the Marangu/Kibo crater sector for summit and usually descends the Marangu trail (hut nights on descent).
Seven-day Rongai
| Day | Segment | Dist. | Sleep alt. | Net vert. | Risks & notes |
|---|---|---|---|---|---|
| 1 | Nalemuru / Rongai Gate (~2,050 m) → Simba Camp | 6–8 km | ~2,650 m | +600 m | Wildlife corridor awareness; drier forest fire risk seasonally |
| 2 | Simba → Second Cave | 8–10 km | ~3,450 m | +800 m | Open moorland lightning; AMS onset |
| 3 | Second Cave → Kikelewa | 5–7 km | ~3,650 m | +200 m | Shorter day but cumulative altitude load |
| 4 | Kikelewa → Mawenzi Tarn | 6–8 km | ~4,310 m | +660 m | Strong wind under Mawenzi; cold nights; HAPE vigilance begins |
| 5 | Mawenzi Tarn → Kibo Hut | 8–10 km | ~4,700 m | +390 m | Crosses “the Saddle”—sun exposure & wind; join busier corridor |
| 6 | Kibo → Uhuru → Horombo Hut | ~5 km up + descent to huts | ~3,720 m | extreme swing | Marangu summit night traffic; scree; HAPE/HACE peak; long descent |
| 7 | Horombo → Marangu Gate | 18–20 km | exit ~1,870 m | −1,850 m | Long knee-intensive descent same trail as Coca-Cola up-route |
Six-day Rongai (compressed)
| Day | Segment | Dist. | Sleep alt. | Net vert. | Risks & notes |
|---|---|---|---|---|---|
| 1–3 | Gate → Simba → moorland merge toward Kikelewa (operator-dependent) | varies | ~3,650 m | — | Itinerary variance highest here—confirm written camps |
| 4 | Kikelewa → Mawenzi Tarn | 6–8 km | ~4,310 m | +660 m | Less recovery than 7-day before high saddle |
| 5 | Mawenzi Tarn → Kibo | 8–10 km | ~4,700 m | +390 m | Shorter overall acclimatization curve |
| 6 | Summit → Horombo → gate (single long exit day on some schedules) | long | exit | — | Operator-dependent split; fatigue stacking risk |
Same trail up and down; 5-day version has shorter altitude adaptation than most other routes at the same calendar length.
Only route using A-frame huts on ascent/descent; identical trail up and down increases erosion and knee load on descent. Hut space is allocated by park authorities—expect shared dorms.
Six-day Marangu (with Horombo acclimatization)
| Day | Segment | Dist. | Sleep alt. | Net vert. | Risks & notes |
|---|---|---|---|---|---|
| 1 | Marangu Gate (~1,860 m) → Mandara Hut | 8–9 km | ~2,720 m | +860 m | Rainforest mud; respiratory infections in damp huts—hand hygiene |
| 2 | Mandara → Horombo Hut | 11–13 km | ~3,720 m | +1,000 m | Large altitude jump; AMS common by evening |
| 3 | Horombo acclimatization hike (e.g. Zebra Rocks / Mawenzi ridge) → sleep Horombo | 3–5 km hike | ~3,720 m | climb-high / sleep-low | Weather can close ridge; still safer than skipping this day |
| 4 | Horombo → Kibo Hut | 9–11 km across saddle | ~4,700 m | +980 m | Wind & sun on saddle; HAPE risk rises sharply |
| 5 | Kibo → Uhuru → Horombo | ~5 km up + 14–16 km down to hut | ~3,720 m | extreme swing | Summit scree; Gilman’s bottleneck crowds; exhaustion-induced falls |
| 6 | Horombo → Marangu Gate | 18–20 km | exit | −1,850 m | Repetitive impact on knees/IT band |
Five-day Marangu (no acclimatization day)
| Day | Segment | Dist. | Sleep alt. | Net vert. | Risks & notes |
|---|---|---|---|---|---|
| 1 | Gate → Mandara | 8–9 km | ~2,720 m | +860 m | Same as 6-day day 1 |
| 2 | Mandara → Horombo | 11–13 km | ~3,720 m | +1,000 m | AMS incidence higher without extra Horombo night |
| 3 | Horombo → Kibo (afternoon) | 9–11 km | ~4,700 m | +980 m | Very short rest before midnight wake—sleep debt drives summit risk |
| 4 | Kibo → Uhuru → Horombo | long | ~3,720 m | extreme swing | Highest relative HAPE/HACE rate of common itineraries |
| 5 | Horombo → gate | 18–20 km | exit | — | Same descent risks as 6-day |
Steepest “direct” line on the south side before merging with Machame/Lemosho traffic at Barranco; first two days are the hardest workload of any standard start.
Six-day Umbwe
| Day | Segment | Dist. | Sleep alt. | Net vert. | Risks & notes |
|---|---|---|---|---|---|
| 1 | Umbwe Gate (~1,600 m) → Umbwe Cave | 9–11 km | ~2,940 m | +1,340 m | Forest mud; tree-root trips; illegal pace requests—decline politely |
| 2 | Umbwe Cave → Barranco (steep ridge) | 5–7 km | ~3,960 m | +1,020 m | Very high daily gain; AMS/HACE risk spike; rockfall from above if crowded |
| 3 | Barranco Wall → Karanga | ~5 km | ~4,035 m | +75–100 m | Joins busy southern circuit; wall exposure |
| 4 | Karanga → Barafu | ~4 km | ~4,673 m | +640 m | Less acclimatized than Lemosho guests arriving same night—strict symptom checks |
| 5 | Barafu → Uhuru → Mweka | ~5 km up + long descent | ~3,100 m | extreme swing | Summit physiology identical to other Barafu routes; fatigue baseline higher |
| 6 | Mweka → gate | 9–10 km | exit | — | Slip risk on wet forest steps |
Seven-day Umbwe (buffer at Barranco)
| Day | Segment | Dist. | Sleep alt. | Net vert. | Risks & notes |
|---|---|---|---|---|---|
| 1–2 | Same steep approach as 6-day to Barranco | — | ~3,960 m | — | Identical high workload first 48 h |
| 3 | Extra recovery / short acclimatization hike at Barranco | 2–4 km | ~3,960 m | minimal | Improves adaptation before wall; still not a substitute for longer routes |
| 4–6 | Matches 6-day days 3–5 (Karanga–Barafu–summit) | — | — | — | See 6-day rows for hazards |
| 7 | Mweka → gate | 9–10 km | exit | — | Standard forest exit |
The most important factor on Kilimanjaro is altitude adaptation. Our planning framework favors gradual ascent, conservative pacing, and guide-led decision making over speed.
Build hiking endurance progressively and train for multi-day consistency rather than speed. Include uphill work and loaded day hikes.